How to open a shared mailbox using the Outlook Web App
Updated on May 15, 2020 to reflect latest interface changes.
There are two ways to open a shared mailbox in Office 365 through the Outlook Web App (OWA).
Method #1 (preferred)
The preferred method is to add the shared mailbox to your current Inbox folder list.
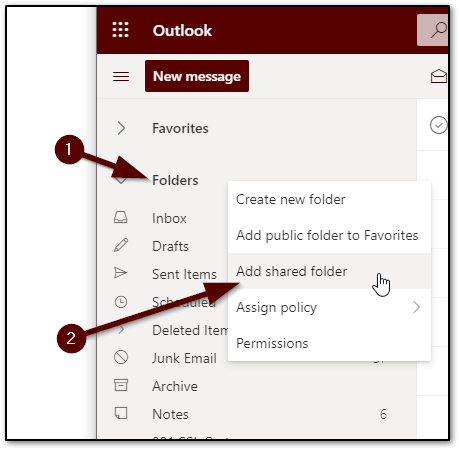
- Right-Click Folders
- Select Add shared folder
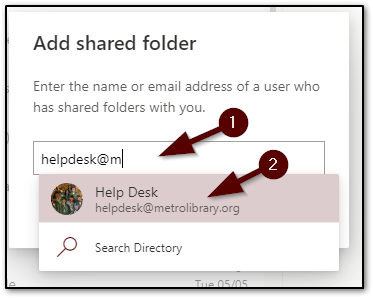
- Search for the account you are wanting to open.
- Select the account once you see it in the results. If the account doesn't show up as you type, you can click "Search Directory" to do a full search of all MLS accounts.
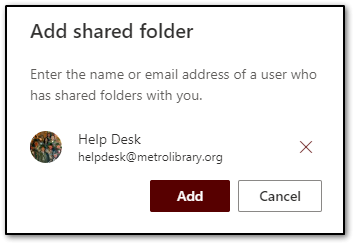
Before clicking "Add" make sure the account shown is the account you are wanting to add.
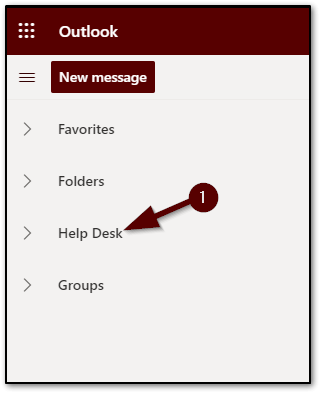
The account should now be on the left pane. If your current folders are all expanded, you may need to scroll down a bit to see the newly added account.
- To view the email inside this new account, click on the account to expand the folders
If you have been given access permissions to this account, you will successfully see the Inbox and other folders that belong to this account.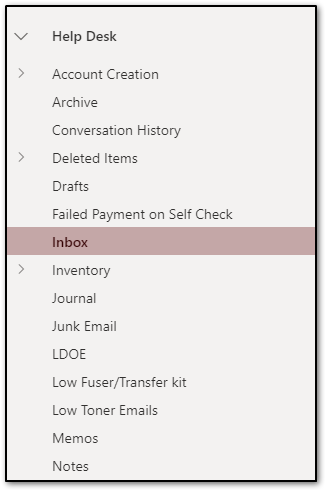
Method #2
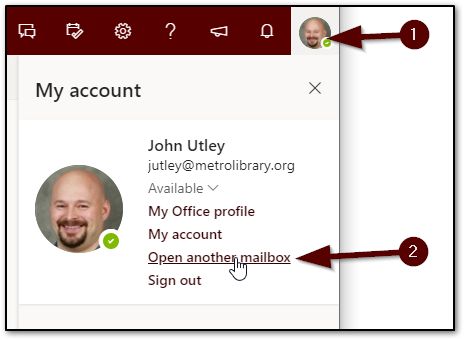
- Click on the avatar icon in the top-right corner.
- Select "Open another mailbox.." from the drop down list.
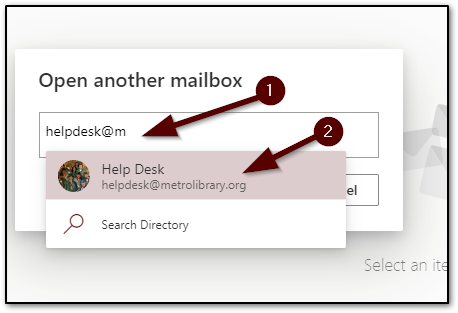
Wait for the "Open another mailbox" dialog box to pop up. This can take a few seconds to appear.
- Type the first 3 or 4 letters of the email address of the account you want to open.
- Click the account you want to open from the results
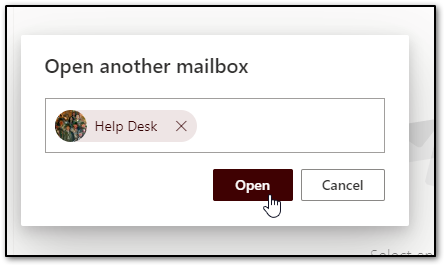
Confirm the mailbox is the correct box you want to access, then click "open"
If you have access to this account, it will successfully open a new tab with the new account's inbox. You can use both your regular email account and the shared mailbox at the same time without the need to close either inbox tab.
If you get an error, then IT will need to verify that you have been given proper access to the account. Send an email to [email protected] and we will get this working for you as soon as possible.
- Log in to post comments